TLDR;
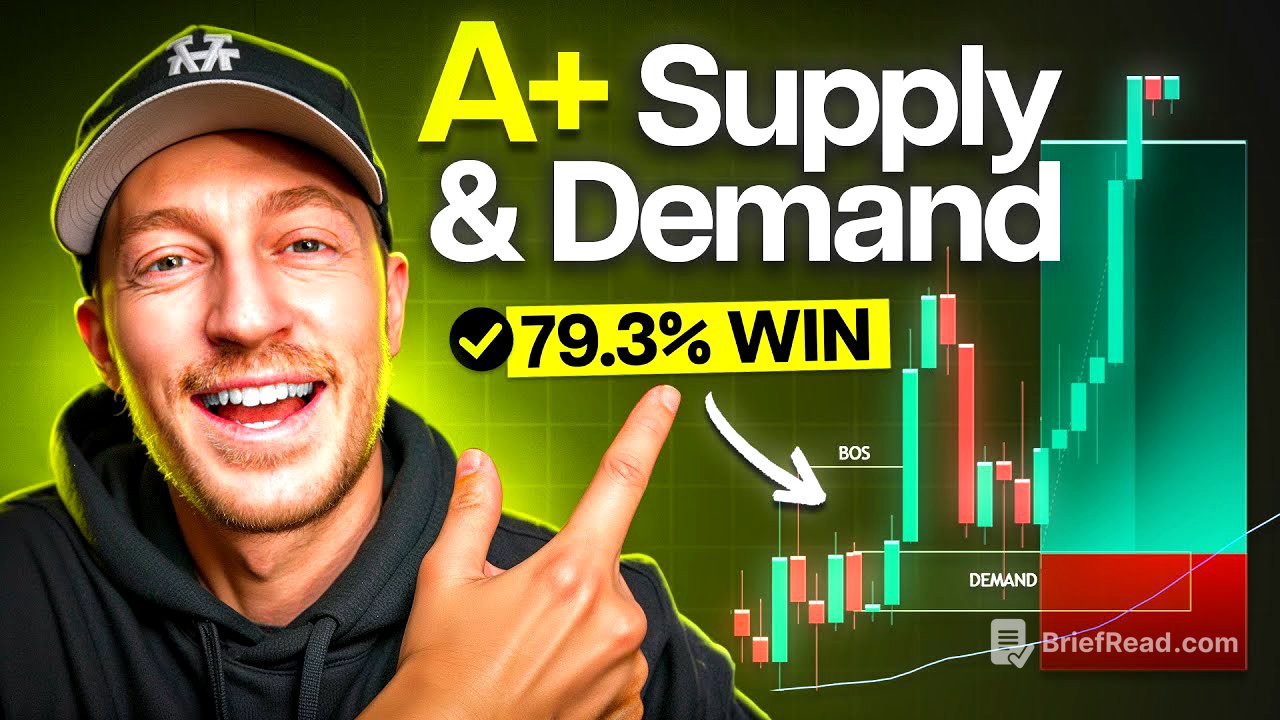
This video outlines a three-step supply and demand trading strategy that the author has used for 16 years. It covers identifying institutional demand, confirming trends, and setting entry conditions. The video includes a backtest result showing a 79% win rate, real trade examples, and six keys to avoid losses.
- Identifying institutional demand
- Confirming trends
- Setting entry conditions
Introduction [0:00]
The author introduces a three-step supply and demand trading strategy, highlighting its potential to improve trading accounts by buying from demand and selling from supply. He shares his personal success using these concepts over 16 years and promises to reveal how to identify A+ setups and demonstrate the strategy's effectiveness with live trade examples. While he doesn't guarantee future results, he hopes the strategy will aid viewers in their trading journeys.
Backtest Result [0:42]
The author presents the results of a 121-trade backtest, which showed a 79% win rate and a profit and loss (P&L) of over 2,100%. He acknowledges that real trading is more challenging than backtesting and mentions he will show real trades later in the video. He also mentions a live trade he executed that morning using the same concepts. The strategy can be applied to various markets, including forex, crypto, futures, and gold, and is best traded during the London and New York sessions.
Step 1: Supply & Demand [1:14]
The first step involves identifying an area of institutional demand on any time frame, using the H1 chart as an example. Supply and demand concepts can be integrated into any trading strategy, including Smart Money Concepts (SMC) and open range breakouts. Institutional demand is identified by looking for significant price movements, such as four large green candles in a row, indicating substantial buying pressure from banks, institutions, or hedge funds. A demand zone is drawn on the candle body before the large upward movement, representing the area where institutions accumulated their positions. For smaller candles, the demand zone can be drawn wick to wick, or multiple small candles can be grouped together. The author also looks for a fair value gap to confirm trend and momentum, and a confluence stack, where the demand zone aligns with previous levels of resistance, suggesting it may act as support in the future.
Step 2: Trend Confirmation [3:56]
The second step focuses on confirming the trend to ensure trades align with the market's direction. The author advises zooming out on the current time frame to identify swing lows and swing highs, which helps determine the overall trend. Breaks of structure, where swing highs are surpassed by higher prices, further confirm an uptrend, indicating market continuity. For beginners, an Exponential Moving Average (EMA) can be used to gauge the trend, with prices above the EMA and creating a significant gap indicating an uptrend. The author also suggests checking higher time frames, such as the 4-hour chart, to confirm the trend.
Step 3: Entry Conditions [5:37]
The third step details the entry conditions for executing trades. The author emphasises the importance of slow momentum when price approaches the demand zone, avoiding entries when large red candles indicate strong downward pressure. The candle should close within the zone or wick into it, but not close below it, as this invalidates the trade. Once the price closes inside the zone and a positive green candle forms, a long position can be entered. The stop loss can be placed tightly to the zone or below a nearby wick, ideally beneath the EMA. The take profit can be set to a 1:1 risk-reward ratio or target recent price levels, such as 1.5 in the example. The author then demonstrates the strategy's effectiveness by identifying multiple demand zones on a chart and executing winning trades, while also acknowledging that losses can occur.
6 Keys to Avoid Losses [9:18]
The author shares six key principles to improve the validity of demand zones and minimise losses. These include: using untested zones (fresh zones that haven't been touched by price), ensuring the price wicks or closes inside the zone (but doesn't close below it), looking for a confluent stack (aligning with the EMA or previous resistance levels), identifying the lowest demand (the strongest demand zone in a series), entering at a discounted price (below the 50% Fibonacci retracement level), and confirming a break of structure (ensuring each high is surpassed by the next).
Supply & Demand Trading Day [12:07]
The author simulates a supply and demand trading day, starting at 9:00 a.m., to demonstrate the strategy in real-time. He identifies a demand zone and waits for the price to reach it, setting up a buy order with a stop loss and take profit. After winning the first trade, he looks for another setup, identifying a new demand zone and waiting for the price to retrace to that level. He uses a trailing stop indicator to manage the second trade, ultimately closing the position for a profit of $1,428.
Broker Ad [15:31]
The author recommends TripleA AFX brokerage for trading, highlighting its low spreads and commissions. He provides a link in the video description for viewers to trade with the same broker he uses daily.
Live Stream Trade [15:48]
The author shares a live trade he took on stream in front of thousands of students. He identifies multiple demand zones and waits to see which ones hold, eliminating those that fail. He marks up his range for the day using the opening range breakout strategy, which involves analysing the first three five-minute candles to set the range high and low. After the price breaks out of the top of the range, he waits for it to retrace to a demand zone before entering a long position. He targets around $1,300 on the trade, placing his stop loss below the demand zone. The trade quickly moves in his favour, eventually hitting his take profit.
Conclusion [18:05]
The author encourages viewers to join his free or VIP trading rooms for more trades and provides links in the description. He asks viewers to like the video if they found it helpful and suggests watching other videos on his channel.


