TLDR;
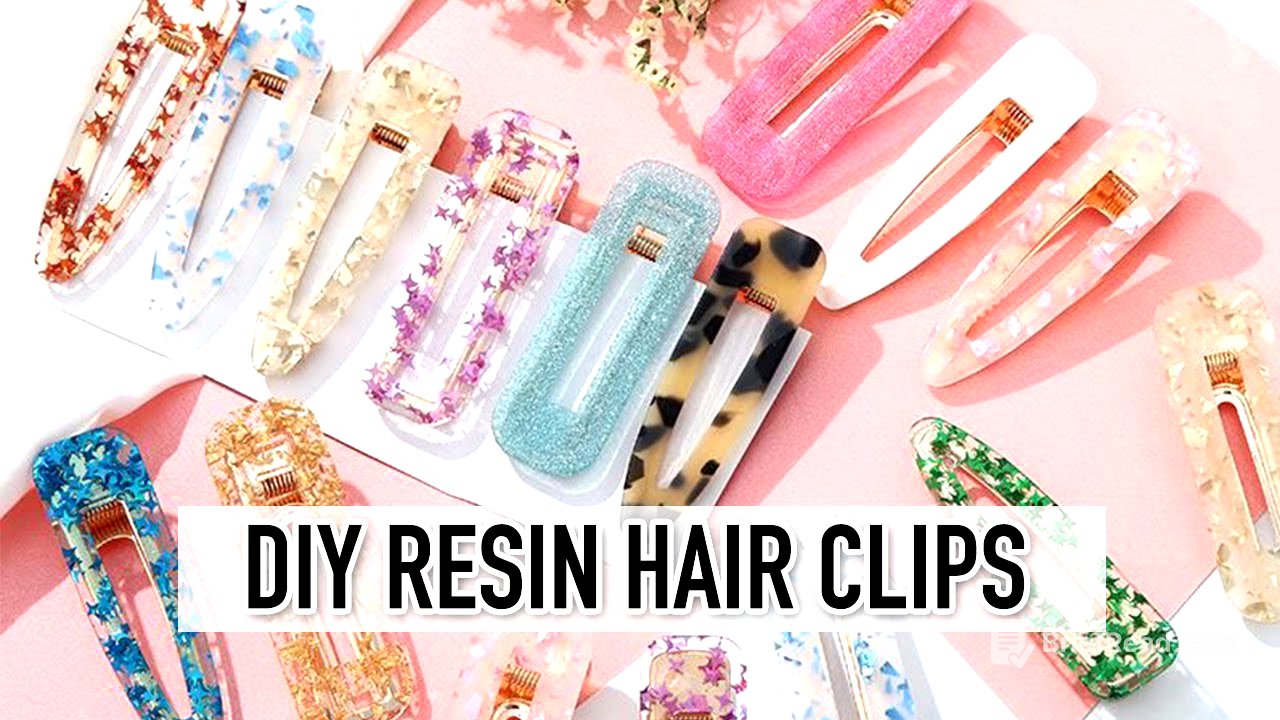
This video provides a step-by-step tutorial on creating custom hair clips using resin, glitter, and molds. It highlights the potential for viewers to turn this craft into a side hustle. The process involves mixing resin, adding decorative elements like glitter and beads, allowing the resin to cure in a mold, and then attaching the cured piece to a hair clip using hot glue.
- Supplies needed include resin, molds, glitter, beads, stir sticks, and hot glue.
- Resin is mixed in a 1:1 ratio, and the mixture is poured into molds with added decorations.
- After curing for 24 hours, the resin pieces are removed from the molds and attached to hair clips with hot glue.
Introduction [0:00]
The video introduces a tutorial on making custom hair clips, emphasizing the potential for viewers to create a side hustle from this craft, similar to other tutorials that have inspired viewers to start their own businesses. The creator expresses excitement in demonstrating the step-by-step process of creating these custom hair clips.
Materials and Tools [0:36]
The creator showcases the materials needed for the project, noting that not all items are essential. These include resin molds (with a link provided in the description), hair clips (often included with the molds), various glitters (some from Michaels and Dollar Tree), mini cups, stir sticks, and casting resin. The creator uses a 1:1 ratio for mixing the resin parts A and B, recommending precise measurement for those new to using resin.
Creating the Resin Hair Clip Design [1:41]
The process of creating the resin hair clip design involves pouring resin into the mold and adding glitter for decoration. The creator demonstrates mixing glitter from Dollar Tree into the resin and pouring it into the mold, starting with a small amount to allow it to spread. Additional elements like beads can be added and moved around with a stir stick while the resin is still fresh. The mold is then left to dry for approximately 24 hours.
Demolding and Attaching the Clip [2:46]
After 24 hours, the cured resin piece is removed from the mold, which should be easy due to the hardened resin. The creator then uses a hot glue gun to apply glue to the hair clip and attaches the resin design to the clip, applying pressure to ensure it adheres properly. The process is repeated for any additional clips.
Final Thoughts and Encouragement [3:29]
The video concludes by reiterating the ease of the craft and encouraging viewers to sell or gift their creations. The creator highlights the potential for viewers to start a side hustle through crafting and reminds them that all product links are available in the description. The video ends with a farewell and a promise of a new video the following week.